Navigating to the user section: Admin Menu > Users
On the 'Manage Users' page you can access, sort and edit the users of the system. Most of these users will be 'Active' though other user status' exist. These are:
-
Hidden/inactive – users who have been marked as hidden (via the individual user edit page) and whose accounts are not active (i.e. they can no longer log in).
-
Unapproved – users who have registered for a user account, but have not yet been approved.
-
Expired – users who had an expiry date set on their account, which has subsequently passed (i.e. their account has now expired).
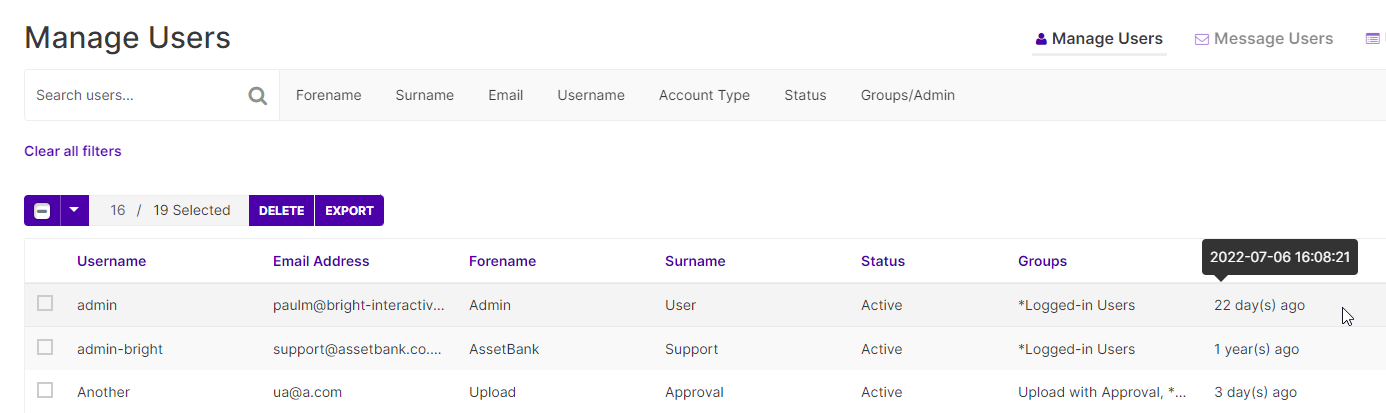
There are a number of actions you can perform once you can see users in this list, via the three dots link at the far right of the user row.

- Edit user - Edit the users details (e.g. update a telephone number).
- Reset password - Create a new password for the user any optionally notify him/her by email.
- Delete user - This will delete the user from Asset Bank, including information about their lightboxes, etc. Deleting a user does not delete any assets they have uploaded.
- Message user - Allows you to send an e-mail to this specific user with text of your choosing.
- Login as this user - This allows you to login as a particular user in order to view the system "through their eyes", which can be useful for troubleshooting and configuration of permissions. You can return to your admin account using the option in the header.
Exporting Users
Once you have selected a list of users, you can export the details of these users by clicking the 'Export' link. The system will then automatically create an export file and present you with a link to download it.
Adding New Users
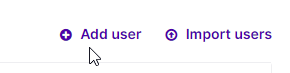
If you click the 'Add user' link toward the right of the Manage Users page, you will be taken to the Add User page. Here you can enter the details of the new user, specify whether or not they are an admin user, and select which user group(s) they belong to. You can optionally send a notification email to the new user with a link to set their own password, or manually create the password.
When adding new admin users, you can also decide whether they will receive system alerts, for example when a user requests approval, or sends a message from the Contact Us page. Simply tick the box labelled 'Receives alerts'.
Importing users in bulk
You can also add users to the system in bulk by clicking the 'Import users' link. You will then be prompted to upload a tab delimited file containing the details of the users with a heading row that identifies the values in each column. If you include an email address for your news users, you can check the Notifications tickbox to email the new users with a link to set their own passwords.
Controlling user access
When creating new users it is possible customise the User Fields that need to be populated in order to ensure you record all relevant information about a user. These can be set to apply to registration forms also. Setting an Expiration date on a user account is a good way of ensuring a user will not have ongoing access to the system as they would automatically be stopped logging in to the system after a specified date. In order to ensure your users are aware of this and agree to any relevant privacy policies, you can ensure users check a box to agree to the system's Terms and Conditions either at the registration or login page.
Comments
0 comments
Article is closed for comments.